

You're probably at the point where the patio design looks settled, the seating is picked, and the fire feature feels like the easy part. Then you start asking how to feed it gas, where it can legally sit, whether your existing line can handle it, and who has to sign off on the work. That's where a lot of natural gas fire pit installation projects stop being a simple backyard upgrade and turn into a permit problem.
I've seen this happen over and over. Homeowners buy a burner kit first, build the stone enclosure second, and only then ask whether the gas line is large enough, whether the shutoff location passes inspection, or whether the enclosure even has the required ventilation. By that stage, the expensive part isn't the fire pit. It's the tear-out.
The hidden complexity is almost never the flame tray. It's the infrastructure around it. Gas line sizing, clearance planning, ventilation, shutoff access, and local code interpretation are what decide whether the install works cleanly or becomes a redo.
Table of Contents
- Planning Your Natural Gas Fire Pit Installation Project
- Gas Line Options and Pipe Sizing for High-BTU Pits
- Tools, Materials, and Trenching for Underground Gas Lines
- Installing the Burner, Ignition System, and Enclosure
- Safety Checks, Leak Testing, and Final Inspection
- Cost, Time Estimates, and When to Hire a Professional
Planning Your Natural Gas Fire Pit Installation Project
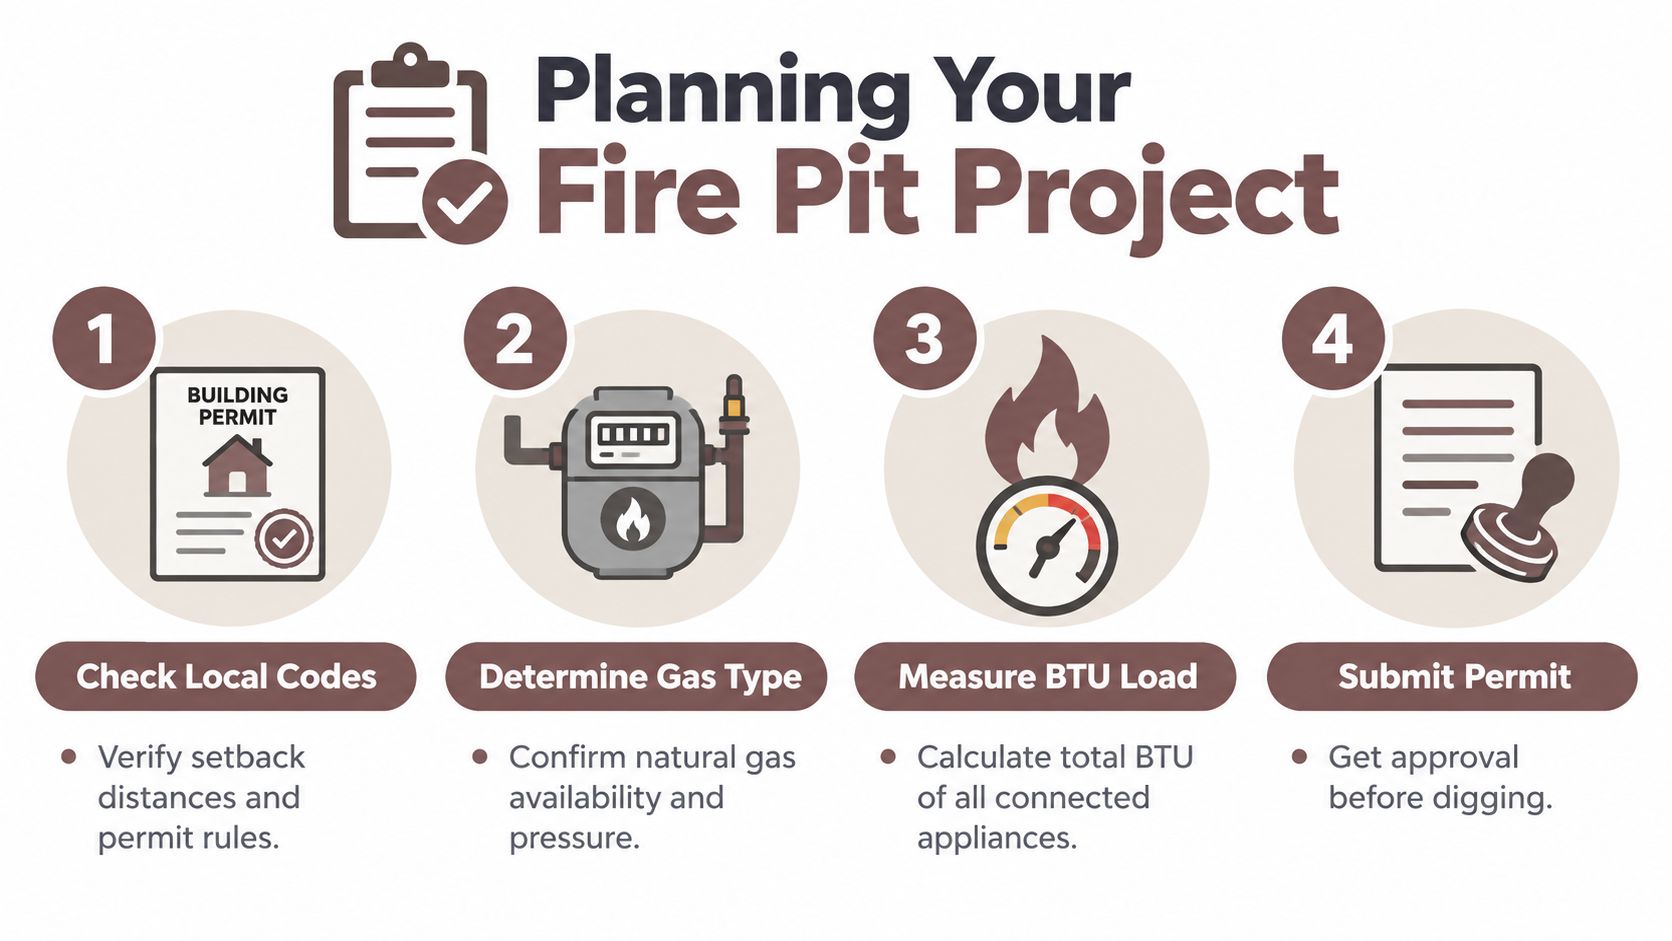
A lot of fire pit problems are built in before the first pipe goes underground. The layout looks right on paper, the burner kit is already in the garage, and the mason is ready to start. Then the inspector asks about appliance listing, shutoff access, combustion air, and required separation from the house, and the job stalls before the trench is even open.
That is why planning has to start with the site and the code path, not the burner finish or stone veneer. Outdoor fire features tied into permanent gas piping are usually reviewed as gas appliance installations. In some jurisdictions, that brings requirements for fuel type, manufacturer-listed components, noncombustible placement, and specific setbacks, as outlined in outdoor fire pit appliance code guidance.
Start with the approval path
The first question is not what burner style you want. It is what your local building department will classify the project as.
Some AHJs treat a permanently connected fire pit as a straightforward gas appliance permit. Others want separate review for gas, hardscape, and electrical if the ignition system needs power. HOA rules can tighten placement even further, especially on smaller lots where clearance to fences, covered patios, or property lines is already tight.
That paperwork affects the whole build order. If the permit set needs a line route, valve location, vent details, and manufacturer specs, those decisions have to be made before the enclosure is laid out.
The site plan has to solve more than appearance
A fire pit can fit the patio and still fail inspection.
The location has to leave room for required clearance from structures and combustibles, practical access to the shutoff, service access for the burner and ignition components, and the vent openings the enclosure needs. Covered patios create another common problem. Homeowners like the centered look under a roof line, but heat accumulation and code restrictions around overhead combustible construction can eliminate that location fast.
I have also seen plenty of jobs where the fire pit technically fit, but the gas line route did not. The shortest visual path across the patio is not always the legal or sensible pipe path once sleeve requirements, trench depth, other utilities, and shutoff placement are accounted for.
What to confirm before ordering materials
Get these answers locked down early:
- How the local jurisdiction classifies the fire pit. That determines permit scope, inspections, and whether listed components are required.
- Whether the chosen location meets actual clearance rules. Manufacturer minimums do not override local amendments.
- Whether the enclosure design allows ventilation and service access. A good-looking shell that traps gas or blocks maintenance is a rebuild waiting to happen.
- Where the shutoff valve can go. Inspectors care about access, not just whether a valve exists somewhere on the branch.
- Whether the fuel source and line route make sense for the lot. A distant tie-in point can turn a simple install into a larger gas piping project.
Sequence matters
The clean jobs follow a predictable order. Verify code requirements. Confirm the fire pit location on the hardscape plan. Identify the gas source and approval requirements. Then order the burner system and start excavation.
Reverse that order and costs rise quickly. Finished stone gets opened back up. Valve locations get moved. Enclosures need added vents. Sometimes the whole fire pit shifts a few feet because the original placement never worked under local clearance rules in the first place.
Good planning looks slower at the start. On natural gas fire pit installation projects, it is usually the part that saves the patio from an expensive tear-out later.
Gas Line Options and Pipe Sizing for High-BTU Pits
A patio can be finished, the burner can be installed correctly, and the inspection can still stall because the gas line was treated like a minor detail. I see that problem more than ignition failures. The usual pattern is simple. Someone spots a nearby branch line, assumes it will carry the load, and only learns otherwise after the pit throws a weak flame or the inspector asks for the sizing calculation.
High-BTU fire pits expose every shortcut in the gas plan. A burner rated for strong output can still underperform if the run is too long, the branch serves other appliances, or the supply pressure at the pit drops under load. That is why line sizing and clearance-driven placement decisions deserve more attention than the burner pan or media choice.
What pipe sizing actually determines
Pipe sizing decides whether the burner receives enough gas volume at the pressure it was designed to use. Get that wrong and the symptoms show up fast. Lazy flame, uneven flame pattern, ignition issues, nuisance shutdowns on electronic systems, and failed final inspection if the reviewer asks how the line was sized.
Manufacturer guidance for outdoor fire features commonly points installers back to the fuel-gas sizing tables in NFPA 54, National Fuel Gas Code. In practice, that means line size cannot be chosen by burner BTU alone. The full calculation has to account for total connected load, developed length, allowable pressure drop, and whether the fire pit is sharing a branch with a grill, pool heater, or patio heater.
That is where weekend-project expectations usually break down. A fire pit that looks modest from the patio side may still need a larger dedicated run once the actual distance and branch load are counted.
| Situation | Usually works | Usually causes trouble |
|---|---|---|
| Fire pit located close to the meter or a properly sized main branch | Dedicated run sized for actual BTU load and distance | Tapping the nearest stub without checking total connected load |
| Short run with moderate burner demand | Correctly sized smaller pipe if the supply calculation supports it | Assuming an existing 1/2-inch branch has spare capacity |
| Large burner or match-lit linear feature | Dedicated larger line with room for steady flow | Sharing a branch with a grill, heater, or future appliance |
Pressure matters as much as diameter
I have seen plenty of lines that were technically connected and still wrong in service. The pipe diameter looked acceptable at a glance, but pressure at the appliance fell off once the burner opened.
Outdoor fire pit manufacturers commonly publish supply pressure limits and connection details in their installation manuals. For example, Warming Trends installation guidance outlines pressure and installation requirements for listed burner systems. The practical takeaway is straightforward. You need enough pipe capacity and stable pressure at the appliance, not just a physical path for gas to reach the enclosure.
Flex connectors deserve attention too. Sharp bends, excessive length, and cramped routing near the valve train create avoidable flow and service problems. Those details look minor until the pit whistles, starves for fuel, or becomes difficult to maintain later.
Questions that settle the hard part early
Before any high-BTU pit gets approved for install, answer these:
- What is the total load on the branch or manifold? Include existing appliances and anything planned later.
- What is the developed length from the source to the fire pit? Long runs change the sizing fast.
- What supply pressure is available at the appliance? Nameplate assumptions are not field verification.
- Does the pit need a dedicated line? Larger burners often do.
- Can the shutoff be reached easily and still satisfy local code? A hidden valve inside finished stone is a common correction item.
Those answers decide whether the project stays simple or turns into a permit rewrite.
Material choice comes after the sizing math
Homeowners usually ask whether to run black iron, CSST, or PE pipe with risers. The right answer depends on local code, the burial and transition details, physical protection, and what the inspector will approve for that portion of the run. Material matters, but it does not rescue a line that is undersized on paper.
I prefer to settle two things before discussing pipe material in detail. First, confirm the pit location works with clearance requirements and service access. Second, size the line based on the load and route. Once those are nailed down, choosing the approved piping system is straightforward.
Weak flame is often blamed on the burner. In the field, the problem is usually upstream.
Tools, Materials, and Trenching for Underground Gas Lines
A lot of permit problems start in the dirt.
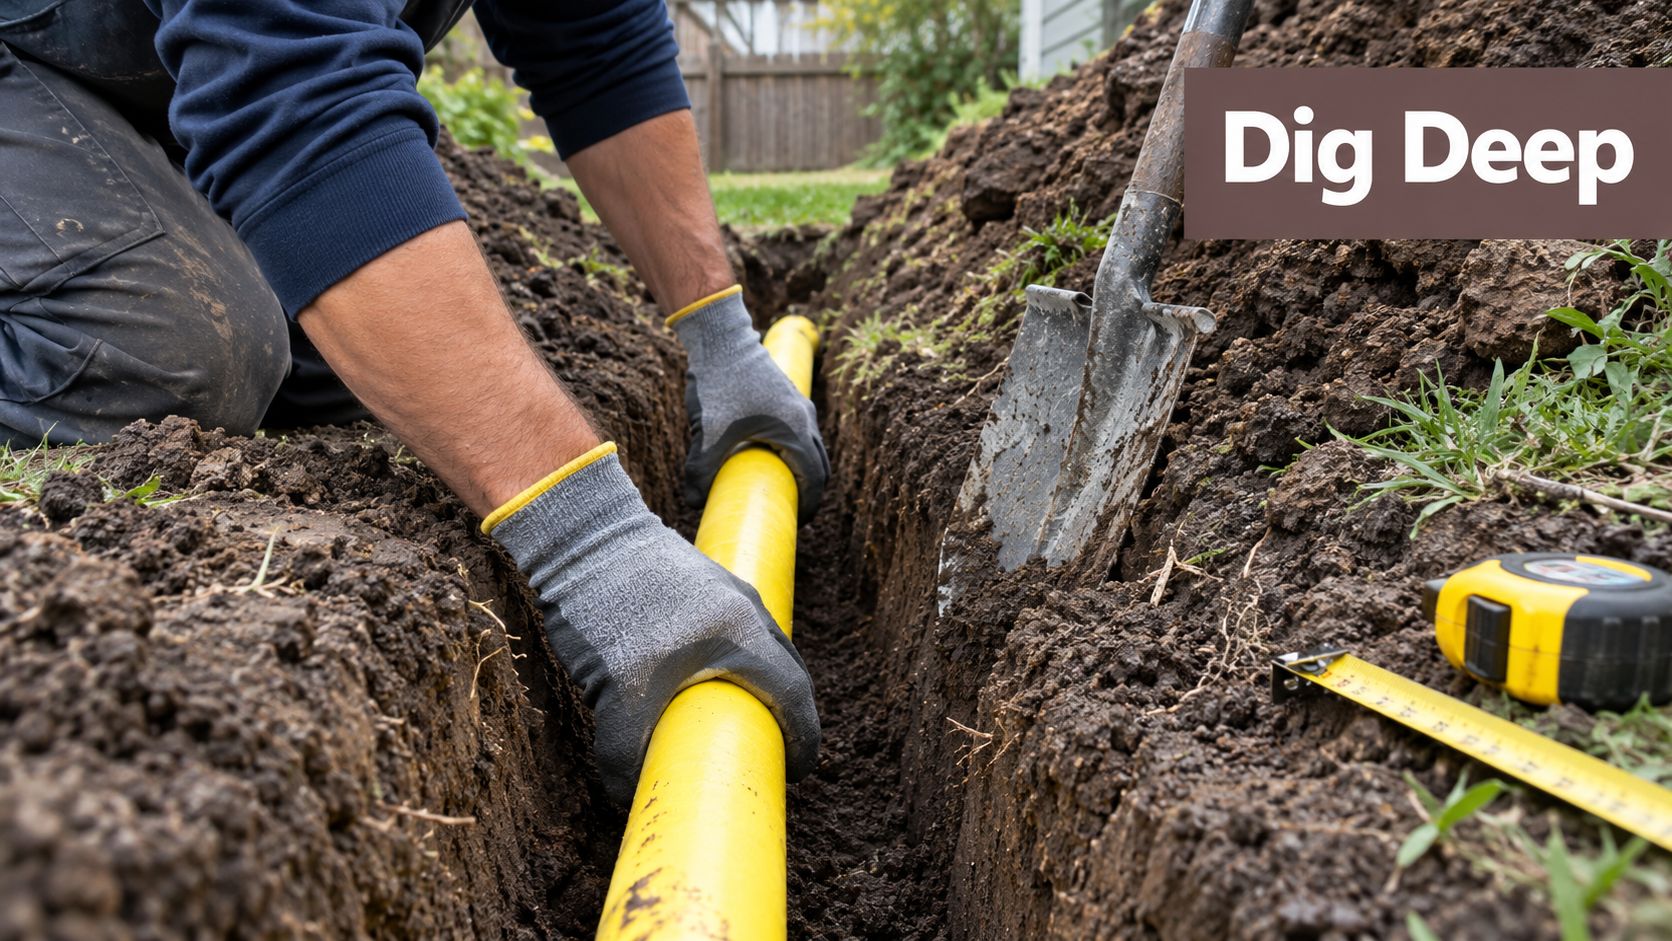
The layout looks simple on paper. Then the gas line has to miss footings, avoid tree roots, clear other utilities, stay deep enough for the route, and come up at the fire pit in a way that can be protected and inspected. That is usually the point where a weekend project stops being simple.
Burial depth and route planning
Burial depth is not just a number you copy from a chart. The required depth can change with the piping material, the authority having jurisdiction, and whether the line passes through an area exposed to vehicle traffic. The National Fuel Gas Code addresses underground piping protection and installation requirements in NFPA 54 gas piping guidance.
That matters in real backyards. A line that skirts a driveway, passes under a future retaining wall, or runs through an area that will get regraded later needs more thought than a straight shot across open lawn. I try to choose a route that stays accessible, avoids unnecessary crossings, and leaves no doubt where the line is when somebody digs five years from now.
The shortest route is not always the best route. Sometimes the better choice is a slightly longer run with cleaner trenching, fewer conflicts, and a safer riser location at the pit.
What belongs in the prep kit
Good trench work does not require exotic equipment, but it does require the right setup before the first shovel hits the ground.
- Gas-rated joint materials: Use thread sealant approved for fuel gas where the piping system includes threaded joints.
- Cutting and assembly tools: Pipe cutters, threading tools where applicable, and full-size wrenches make better joints than improvised hand tools.
- Pressure-test equipment: A dedicated test gauge and fittings let you verify the underground run before backfill covers your mistakes.
- Bedding and marking materials: Clean fill protects the pipe from rock contact, and warning tape helps identify the line later.
I also like to have tracer wire, riser protection, and a clear plan for transitions on site before excavation starts. Underground gas work goes faster when the termination details are settled early.
Material choices and physical protection
Material choice only works if it matches the route and the inspection requirements. Some jurisdictions are comfortable with polyethylene pipe underground and metallic risers at each end. Others are stricter about transitions, sleeving, or the exposed portions near the appliance. The wrong material decision usually shows up at inspection, not at checkout.
Protection at the ends of the trench gets ignored all the time. The riser coming up near the fire pit sees movement, backfill pressure, landscaping tools, and sometimes foot traffic. If that transition is loose, exposed, or poorly supported, it becomes the weak point of the whole installation.
For readers comparing build components, some retailers also carry purpose-built venting and burner hardware. For example, Urban Man Caves fire pit products include natural gas fire pits and related components that fit permanent outdoor installations, but the gas line still has to be selected and installed around local code and actual BTU demand.
Where trenching gets botched
The same mistakes show up again and again on fire pit jobs:
- The trench route gets decided after the patio and enclosure layout are locked in. That usually creates sharp turns, awkward riser locations, or unnecessary demolition.
- Excavation is too shallow for the actual site conditions. The line may be fine in open yard, then fail the moment the route crosses a drive edge or disturbed area.
- Backfill goes in with rock and debris against the pipe. That saves a few minutes and creates a long-term damage risk.
- The riser at the pit is left unsupported. Settlement and movement tend to show up there first.
- Nobody marks the line location well. The next person with a shovel, auger, or fence post digger pays for that oversight.
If you want one area to be picky about, make it the underground run. Finish materials can be repaired. Buried gas piping is expensive to reopen, and code corrections below grade are where small planning mistakes turn into real money.
Installing the Burner, Ignition System, and Enclosure
A lot of permit problems show up after the gas line is already buried and the patio is nearly finished. The pit location looked right on paper, but the burner pan sits too tight to combustible trim, the enclosure has no usable venting, or the shutoff ends up buried behind stone. That is how a clean-looking project turns into rework.
The enclosure has to be built like a listed gas appliance housing, not just a masonry box.
Build the enclosure around clearances first
Clearance mistakes are expensive because they usually get discovered late. I have seen plenty of fire pit layouts that fit the patio design and fail the manufacturer requirements the moment the burner kit comes out of the box.
Sidewall and overhead clearances vary by burner and enclosure system, so the manual for the exact unit has to drive the layout. Some listed systems call for wide side clearances, lower sidewall limits, or no overhead covering at all, as shown in this gas fire pit installation manual. If the plan includes a pergola, roof projection, built-in seating, or decorative wood screening, check those dimensions before veneer, capstone, and finish materials lock everything in place.
This is also where gas-line sizing and enclosure design collide. A high-BTU pit may need a larger burner opening, more access room, and a different valve location than the drawing originally showed.
Vent the enclosure like trapped gas is a real possibility
A fire pit enclosure needs cross-ventilation. Fuel gas can collect low in the box. Heat builds up around valves, flex lines, and ignition parts. If the enclosure is sealed because the mason wanted a cleaner look, you have created a service problem and a safety problem at the same time.
Manufacturer requirements commonly call for vents on opposing sides, with a minimum free-vent area such as two vents of at least 18 square inches each or equivalent distributed opening area, as specified in HPC Fire Inspired installation guidance for gas fire pit enclosures. The exact vent size and placement should match the burner system you are installing.
Opposing vents matter more than total vent area alone. One vent low on a single side is not the same thing.
Drainage matters too. Water that sits under the burner pan or inside the valve cavity will shorten the life of ignition components fast. Build a path for water to leave the enclosure instead of assuming the pit fill or stone base will somehow deal with it.
Install the burner and ignition with service access in mind
Once the enclosure is vented, drained, and dimensionally correct, set the burner assembly carefully. This part gets rushed all the time, especially after the masonry crew is trying to wrap up the job.
Use a simple field check:
- Confirm the burner is set up for natural gas, not propane
- Verify the valve, key valve, and any electrical rough-in are in the approved locations before mounting components
- Connect with approved fittings and route any allowed flex connector without kinks or tight turns
- Support the burner pan so it sits level and does not rack in the opening
- Place ignition components and media exactly where the manufacturer shows them
A flex connector can save space inside an enclosure, but it is also one of the easiest places to create a hidden restriction. If the connector is twisted, flattened by a tight radius, or pushed hard against masonry, flame performance usually suffers and diagnosis gets annoying once the finish work is complete.
Keep service parts reachable. If a tech has to remove stone facing or crawl through a tiny vent opening to replace an igniter, the enclosure was built wrong.
What holds up in the field
| Holds up over time | Causes rework |
|---|---|
| Shutoff and ignition parts reachable through a proper access opening | Valves and modules buried behind fixed veneer |
| Opposing vents installed as part of the enclosure framing | Trying to add venting after the stone is finished |
| Burner pan level, centered, and fully supported | Uneven openings that force the pan into place |
| Drainage below the burner cavity | Flat enclosure floors that trap rainwater |
| Clear separation from combustibles and overhead features | Fire pit placement chosen for looks before checking listed clearances |
The best installations are usually boring once they are finished. The flame lights consistently, the access panel opens without a fight, the enclosure stays dry, and the inspector does not have to ask how the hidden parts were handled.
Safety Checks, Leak Testing, and Final Inspection
The call nobody wants comes after the patio furniture is in place and the owner says the pit lit fine once, then started clicking, blowing out, or smelling like gas. That usually traces back to the final checks getting rushed. On fire pits, the hidden failures are rarely dramatic at startup. They show up later, after the trench is buried, the veneer is finished, and the inspector wants to know whether the installed system matches the permit, the listed burner, and local fuel-gas code.
What to verify before first fire
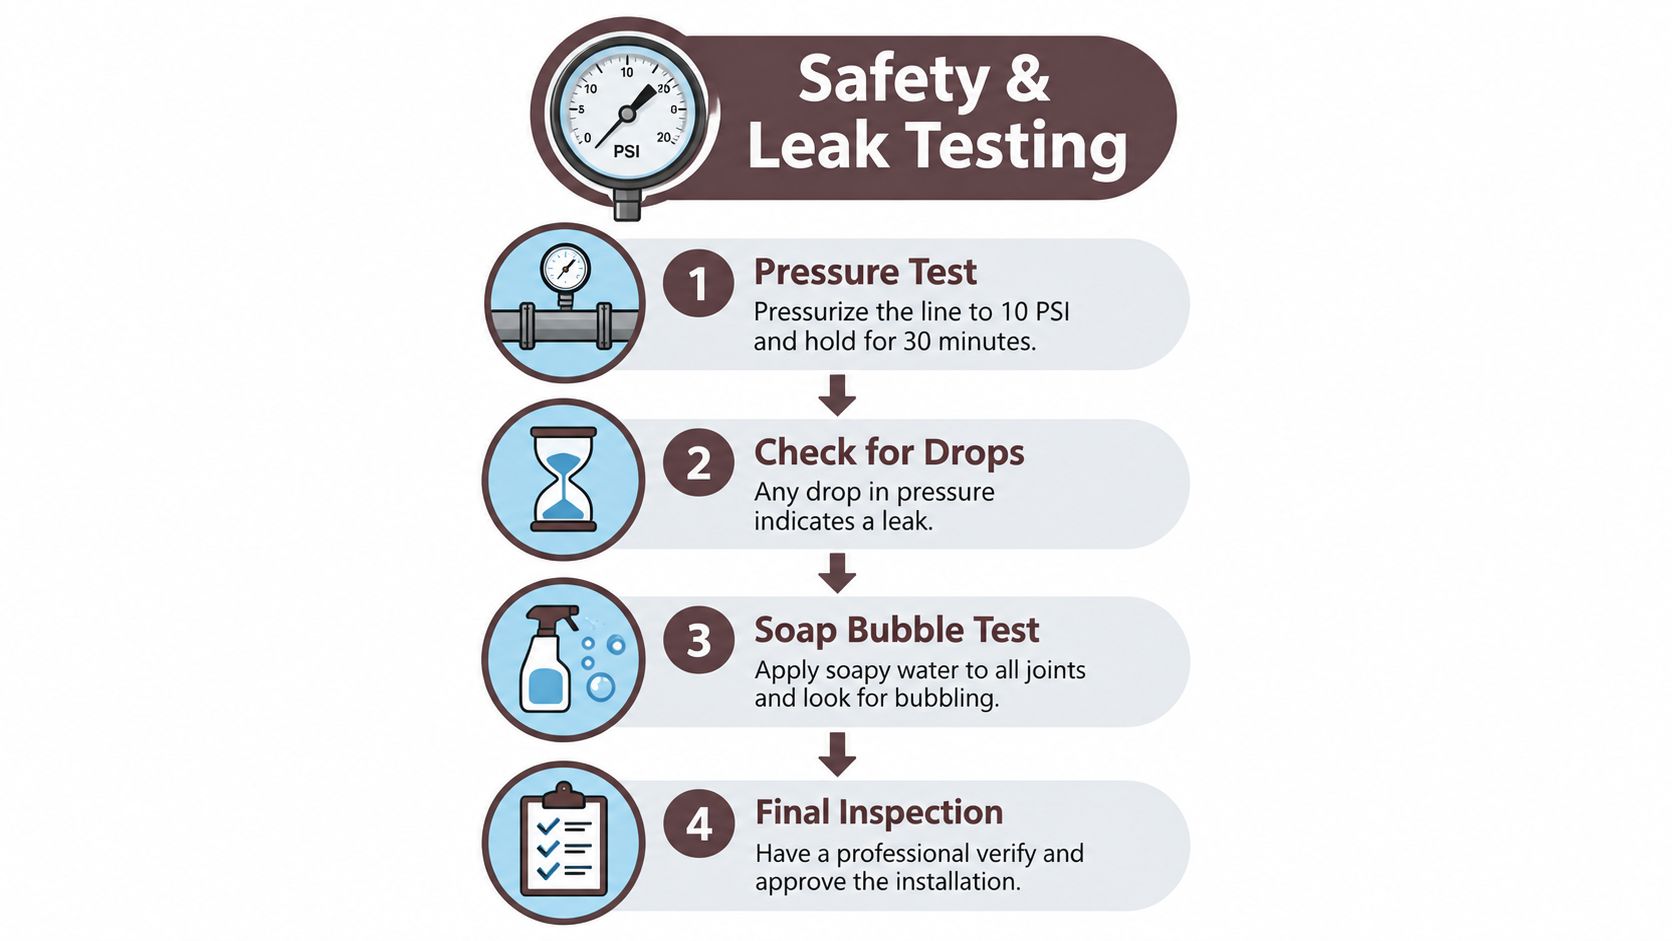
Treat the closeout like a commissioning pass. The goal is to confirm that the line holds pressure, every accessible joint stays tight under test, the shutoff and ignition components can be reached without disassembly, and the burner operates the way the manufacturer intended.
A field checklist that catches most problems
Run through a short inspection before final sign-off:
- Pressure test the new run: Isolate the line and test it using the method required by the permit, local code, and approved installation plan.
- Soap-test every accessible joint: Bubbling at a fitting means the joint gets redone, not watched.
- Cycle the shutoff valve by hand: If it binds, hides behind finish materials, or requires awkward reach, fix that now.
- Check the enclosure interior: Look for standing water risk, blocked vents, loose low-voltage wiring, and connectors that are twisted or unsupported.
- Light the burner and watch the flame: Hard starts, delayed ignition, uneven flame height, or flame lift usually point back to gas delivery, burner setup, or air movement problems.
A burner that only behaves on a calm dry afternoon is not ready for inspection.
What inspectors usually care about
Inspectors are usually checking two things at once. First, does the installation match the approved scope. Second, can someone service or shut it down safely without taking apart finished work. Clean pipe routing, visible shutoff access, listed components installed as intended, and proper separation from combustibles matter more here than how polished the stonework looks.
This is also where gas-line sizing and clearance mistakes finally catch up with the project. A pit can light and still fail final because the installed supply does not support the listed BTU load, the enclosure vents do not meet the burner requirements, or the fire feature sits too close to walls, overhangs, or other combustible construction. Those are the permit-failure issues that turn a simple backyard upgrade into rework.
Drainage deserves a last hard look too. Water collecting in the burner cavity or valve area leads to nuisance ignition problems, corrosion, and callbacks that are expensive to diagnose once the finish materials are in. As noted earlier, under-sized gas supply, missing ventilation, and poor drainage are common build errors, and they often show up at final inspection instead of during rough-in.
Cost, Time Estimates, and When to Hire a Professional
A lot of fire pit projects look simple right up until the gas demand hits the existing line and the permit reviewer starts checking clearances. That is usually the point where a weekend build turns into trench rework, pipe replacement, and a second inspection fee.
DIY versus hired work
The dividing line is not whether someone can assemble a burner pan or set block. It is whether they can correctly handle gas load, pipe sizing, permitting, and placement rules without guessing.
| Project type | DIY may be realistic | Hire a professional |
|---|---|---|
| Fire pit near an existing approved gas stub | Sometimes, if local rules allow and the installer understands the burner listing and shutoff requirements | Better if permit handling or valve relocation is involved |
| New underground run across yard | Possible for experienced installers coordinating approved gas work | Usually the cleaner path |
| Tie-in to a shared manifold | Poor candidate | Yes |
| Large burner with high demand | Rarely practical | Yes |
| Work near structures, covered patios, or tight setbacks | High risk of clearance mistakes | Yes |
Where hidden cost actually shows up
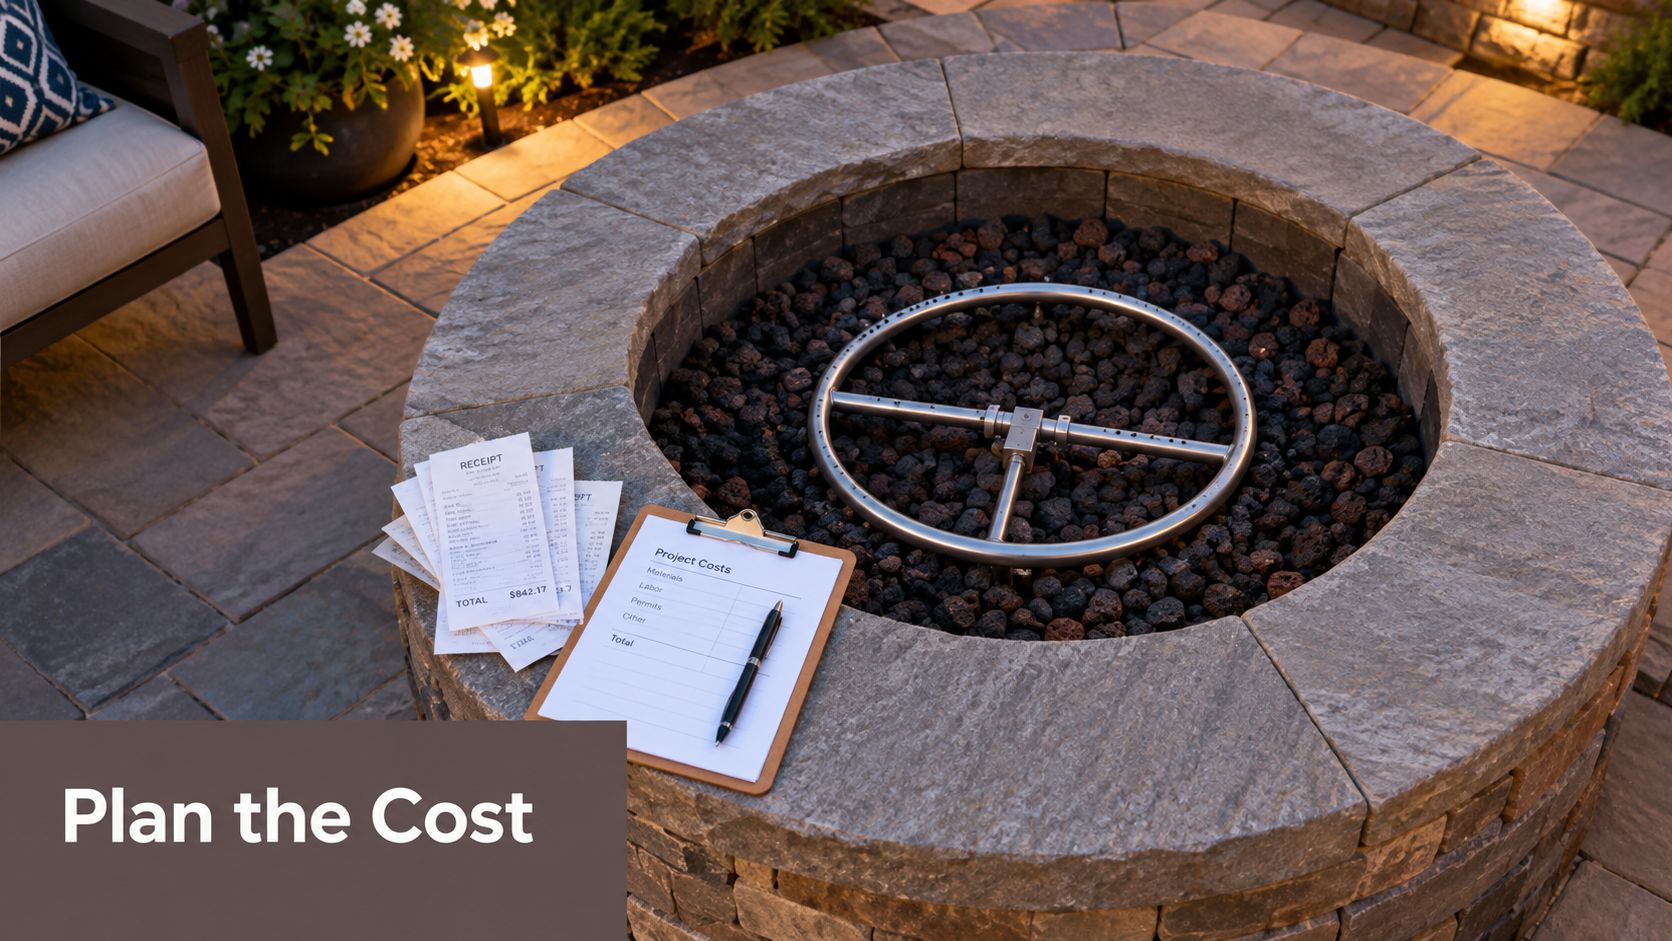
The visible materials fool people. The stone, burner, and ignition kit are easy to price. The expensive part is often the correction work needed to support the BTU load you picked.
A larger fire pit can force a bigger gas line, a longer trench, a dedicated shutoff in the right location, or separation from other appliances already using that branch. If the house side piping was sized tightly to begin with, the fix may start back at the meter or at the manifold, not at the patio. That is the hidden budget item that catches homeowners off guard.
One trade reference that lays out those compliance issues clearly is this NFPA 54 outdoor fire pit compliance guide. The useful takeaway is simple. Burner BTU rating, total developed pipe length, and any shared appliance load have to agree before the pit will perform properly and pass inspection.
Good reasons to bring in a licensed gas fitter
Bring in a pro if any of these apply:
- Meter capacity is unclear
- The fire pit will share gas with a grill, pool heater, or patio heater
- The run crosses finished hardscape, retaining walls, or drive areas
- The pit is going near a structure, roof cover, window, or other clearance-sensitive condition
- The permit requires licensed gas work or signed inspection documentation
- The enclosure includes electronic ignition and needs gas and electrical coordination
I also recommend hired work any time the plan depends on “it should be fine” math. Undersized gas piping does not always fail in an obvious way. Sometimes the pit lights, but the flame is weak, ignition is inconsistent, or another appliance starts acting up when both run at once. Those are expensive callbacks because the finish work is already done.
Code review is another reason to stay realistic. Permanent gas-fired outdoor appliances usually get more scrutiny than homeowners expect, especially where the installation sits close to walls, patio covers, or combustible framing. As noted earlier, clearance and ventilation mistakes often show up at final inspection, not while the enclosure is still open.
The long-term view
The cheapest bid is not always the lowest-cost installation. A fire pit with a dry valve area, serviceable shutoff access, correct venting, and a properly sized gas supply usually costs less to own because it avoids nuisance repairs and teardown later.
If the project starts creeping into gas system redesign, demolition of finished patio work, or load calculations involving multiple appliances, hire the right person early. That decision usually saves money.
If you're planning a fire feature that needs to look sharp and work reliably, urbanmancaves.com offers fire pits, burner components, and outdoor living products that fit serious patio builds. It's a useful place to compare fire pit options before you lock in your gas plan, especially if you want the design and the installation details to line up from the start.


